
NOTES:
W=move E=rotate R=scale
to make a shape go to create on the top menu bar, then polygon primitives and choose your shape. then you can edit it. You can make shapes bend and twist and squash etc by going to create deformers-non liner- bend,squash etc. then on the right click channels-input-bend-clickon the word-use the middle mouse button to slide left and right to increase and decrease the value.

 We also learned about lighting. you can go to create, light, and choose which type you want. you can edit this in the channels panel. click 7 to show what your lighting is doing and T to aim the light. Cone angle is the size of the light, permumeralangle will soften the edges, decay rate is the brightness.
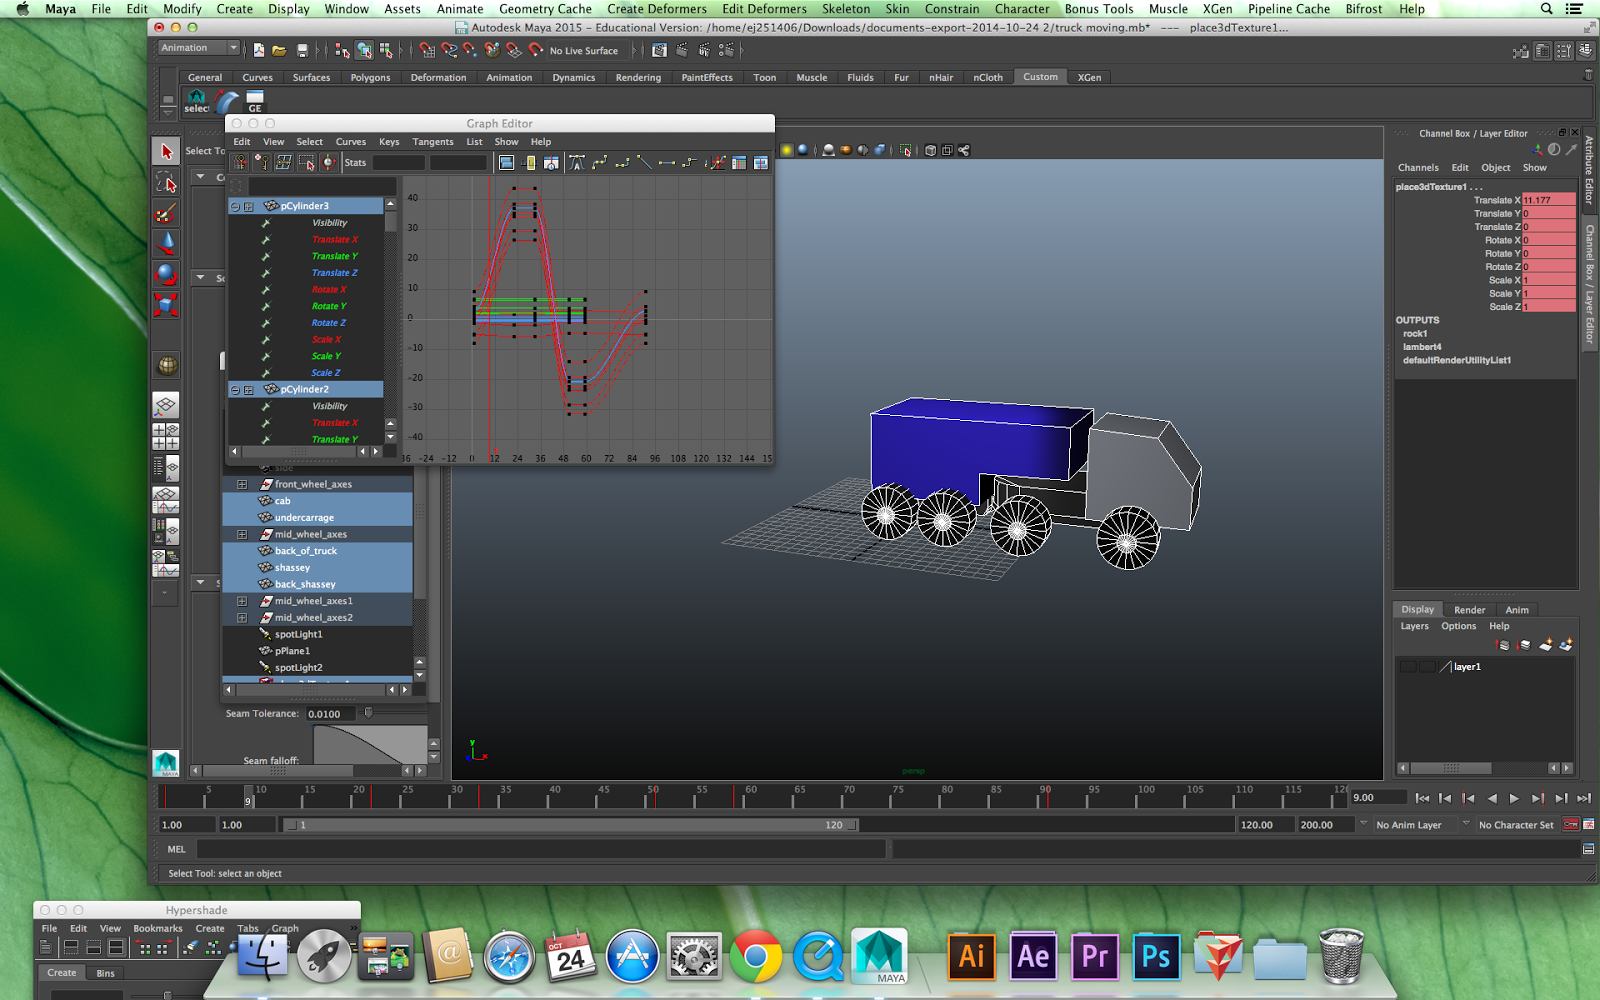
 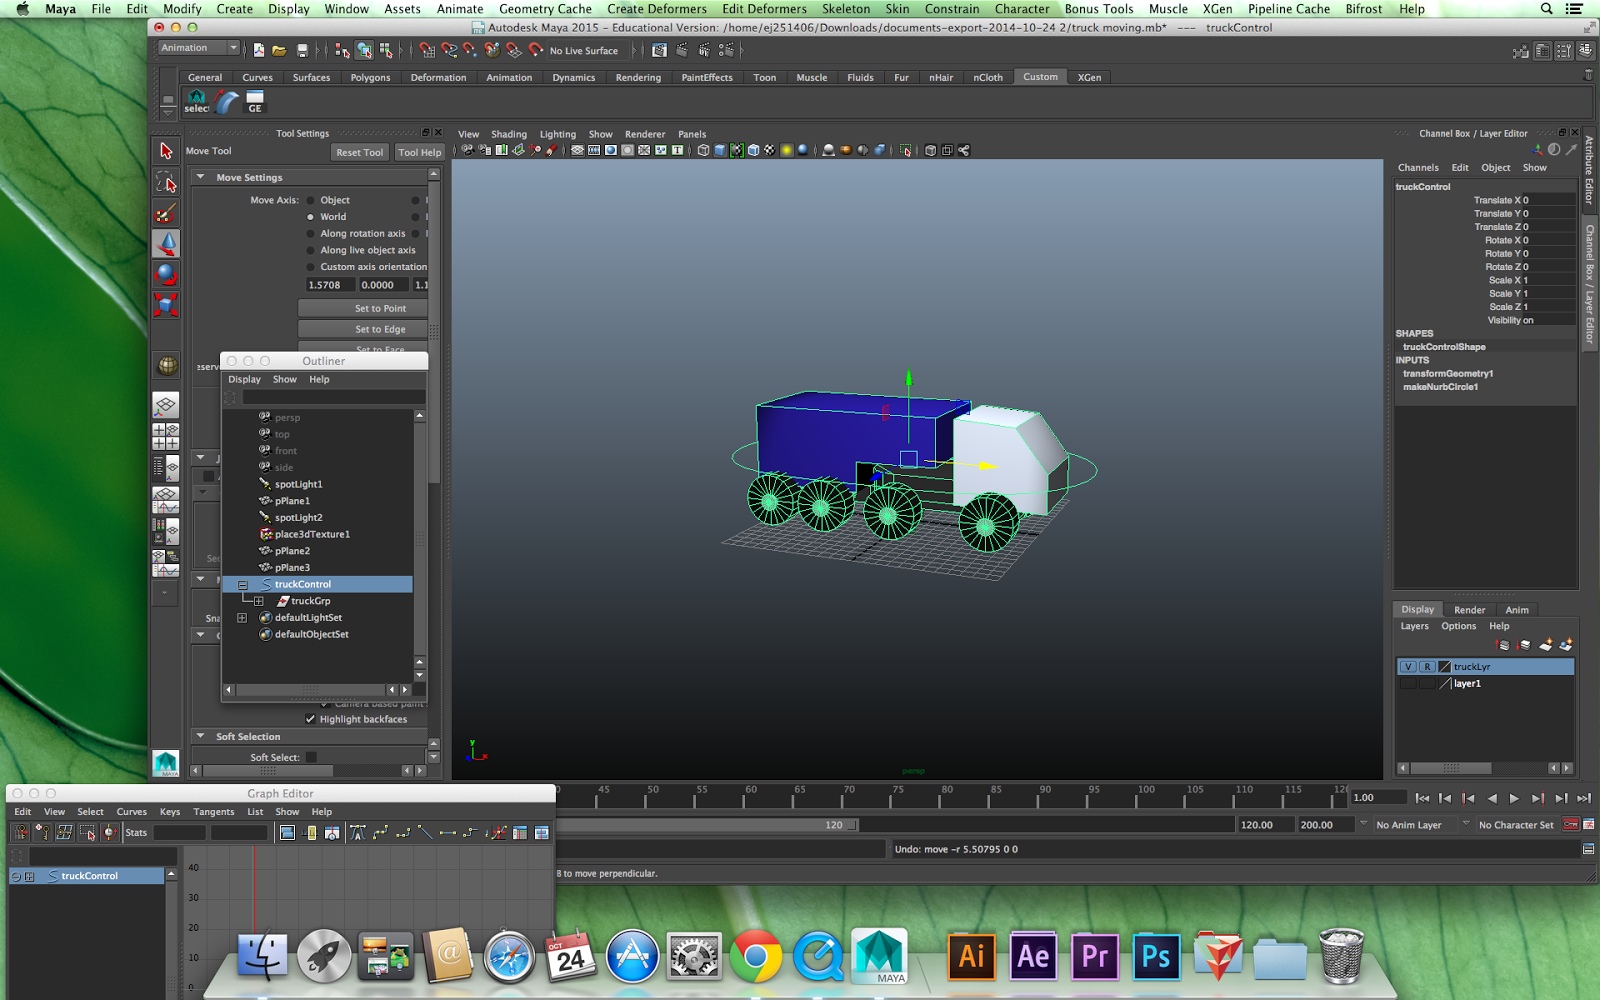 Then the next lesson I tried to make my truck move and I thought it went okay until we learnt about graph editors that can edit the motion and when I clicked on it, it looked completely different to what Mat had shown us. I asked him why and it turns out I missed a step. I was key framing each individual part of the truck.
I needed to do this bit where I group the parts of the truck then add a NURB circle and put it around my truck, and parent the NURB to my truck so that when I move the circle the who thing moves and I can make the truck uneditable. This means I will have one line on my graph.
No comments:
Post a Comment